


Keeping your private files secure on a Mac is essential, especially when you share your device with family or friends. While macOS has built-in security features like password protection, Touch ID, and Apple Watch authorization, there’s always a chance that someone might stumble upon sensitive files while browsing through your system. We look into How…
Keeping your private files secure on a Mac is essential, especially when you share your device with family or friends. While macOS has built-in security features like password protection, Touch ID, and Apple Watch authorization, there’s always a chance that someone might stumble upon sensitive files while browsing through your system. We look into How to Hide Files on macOS.
Fortunately, macOS provides several ways to hide files and folders, ensuring that your personal data remains out of sight. Whether you use Finder, Terminal, or third-party encryption software, here’s how to keep your data private on macOS.
Method 1: Hide Files and Folders Using Finder
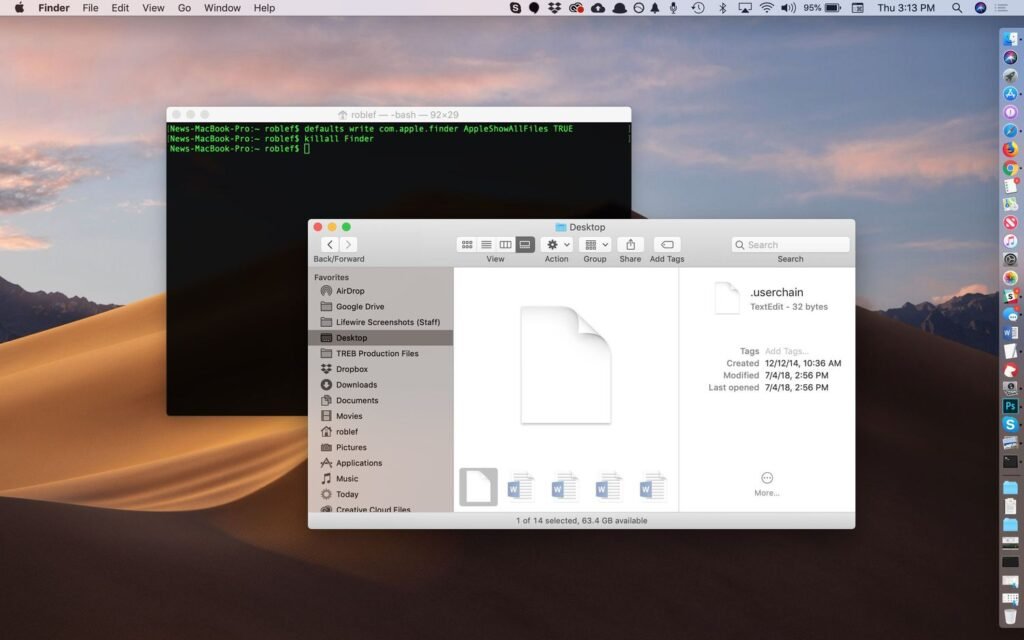
macOS allows you to hide files and folders by renaming them with a period (.) at the beginning of the file name. However, before you start hiding files, you’ll need to enable visibility for hidden files so you can see what’s already concealed.
Step 1: View Hidden Files in Finder
🔹 Press Shift + Cmd + . (period) in Finder.
🔹 Hidden files and folders will appear faded but visible.
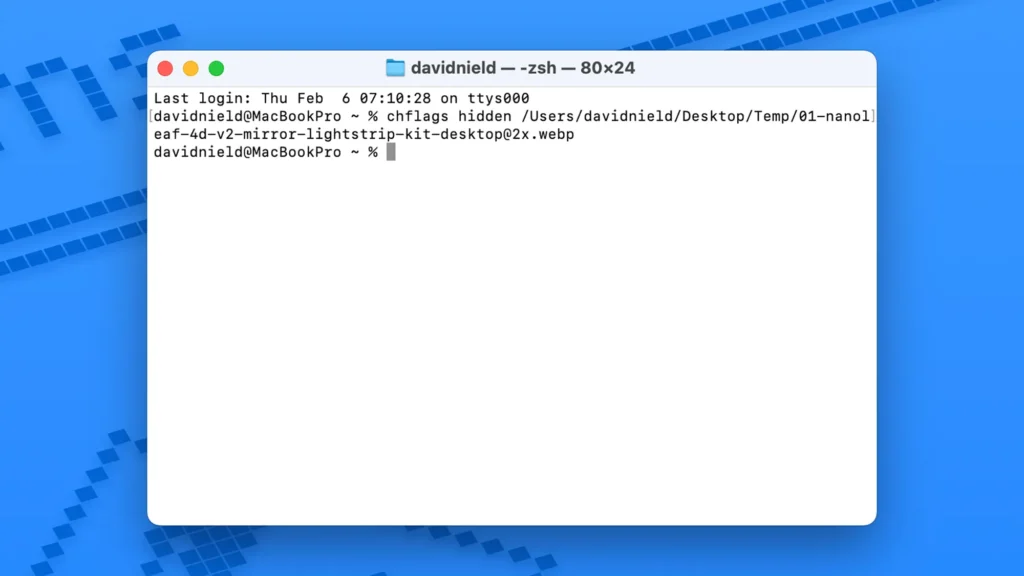
Step 2: Hide a File or Folder in Finder
1️⃣ Select the file or folder you want to hide.
2️⃣ Click on the name to edit it.
3️⃣ Add a period (.) at the beginning of the name.
4️⃣ Press Enter, then select Use Dot to confirm.
🔹 The file or folder will remain visible but faded. To fully hide it, press Shift + Cmd + . (period) again.
Step 3: Unhide Files in Finder
🔹 Rename the file or folder removing the period.
🔹 Restart Finder by opening Terminal and typing:
bashCopyEditkillall Finder
🔹 Press Enter to apply the changes.
Method 2: Hiding Files Using Terminal
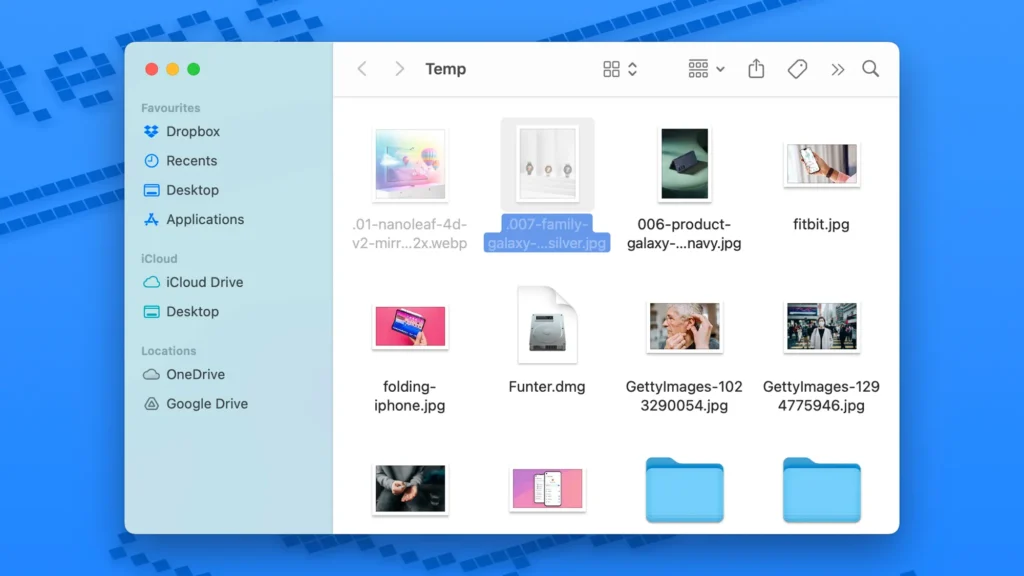
If you prefer not to rename files manually, macOS Terminal provides a command-based method to hide and unhide files.
Step 1: Hide a File or Folder
1️⃣ Open Terminal (Cmd + Space, type “Terminal,” and press Enter).
2️⃣ Type the following command:
bashCopyEditchflags hidden
3️⃣ Drag the file or folder you want to hide into the Terminal window (this automatically adds the file path).
4️⃣ Press Enter to hide it.
5️⃣ Restart Finder using:
bashCopyEditkillall Finder
🔹 The file is now hidden.
Step 2: Unhide a File or Folder
1️⃣ Open Terminal and enter:
bashCopyEditchflags nohidden
2️⃣ Drag the hidden file or folder into Terminal and press Enter.
3️⃣ If the file remains hidden, press Shift + Cmd + . (period) to reveal it in Finder.
🔹 Note: This method is quick and easy but not entirely secure—anyone familiar with macOS can still reveal hidden files.
Method 3: Using Third-Party Software for Extra Security
If you need stronger protection than Finder or Terminal, consider third-party tools that offer password-protected file encryption.
1️⃣ Funter (Basic File Hiding Tool – Free)
Funter is a menu bar utility that allows you to hide and unhide files with a single toggle switch.
🔹 Key Features:
✔️ Quickly hide/unhide files from the menu bar.
✔️ Search for hidden files on your Mac.
✔️ Works similarly to the Shift + Cmd + . shortcut but with a simpler interface.
🔹 Limitations:
❌ Files can still be revealed without a password, meaning it’s not a fully secure solution.
2️⃣ Encrypto (Password-Protected File Encryption – Free)
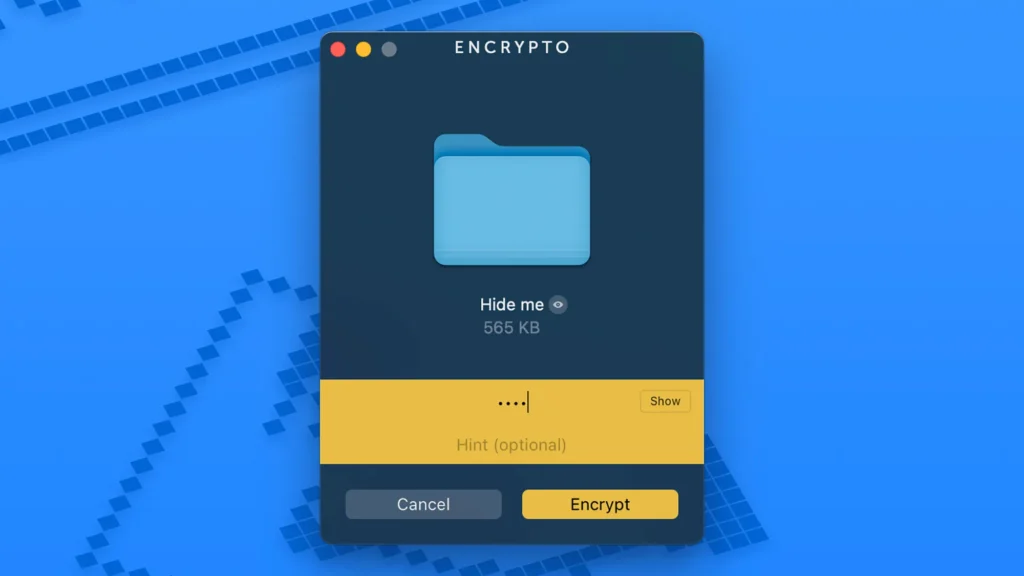
For maximum security, Encrypto allows you to encrypt and lock files with a password.
How to Use Encrypto to Secure Files on macOS
1️⃣ Download and install Encrypto.
2️⃣ Open the Encrypto app.
3️⃣ Drag and drop the file or folder you want to hide into the app.
4️⃣ Enter a password to encrypt the file.
5️⃣ Click Encrypt to lock it.
6️⃣ Save the encrypted file anywhere on your system.
🔹 To decrypt the file, simply double-click it, enter the password, and retrieve your data.
💡 Pro Tip: For extra security, use Finder or Terminal to hide the Encrypto-protected file so that even if someone finds it, they won’t be able to open it without the password.
Final Thoughts: Which Method Should You Use?
🔹 If you just want to temporarily hide files, use Finder or Terminal.
🔹 If you need quick access to hidden files, try Funter.
🔹 If you require serious security and password protection, Encrypto is the best option.
By following these methods, you can effectively hide and secure your files on macOS, ensuring your privacy remains intact. Whether you’re protecting personal documents, sensitive work files, or private media, macOS offers multiple ways to keep your data safe from prying eyes.


